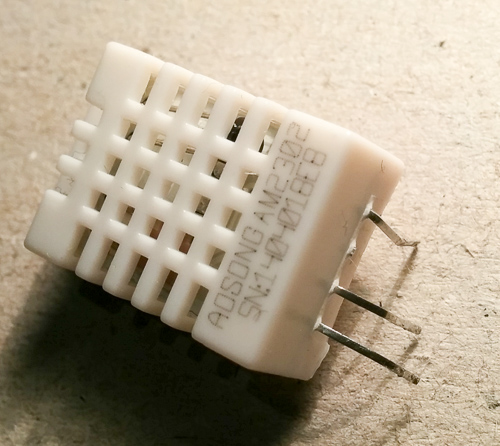
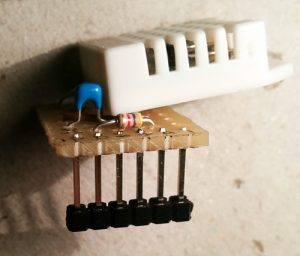
Building a DHT22 sensor board to fit in our sensor pack boxes.
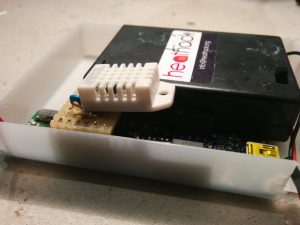
Because of the size of the DHT22 sensor, this layout is optimised to fit in the compact boxes we’re using. The sensor will poke out of a hole in the box lid.
Note that the DHT22 can be directly replaced with a DHT11.
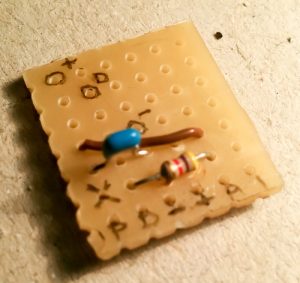
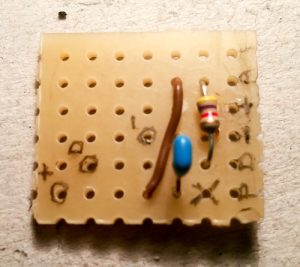
Component layout
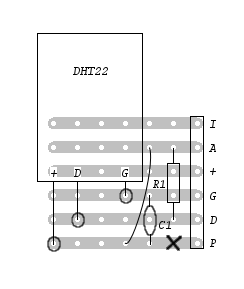
- The cross marks where to cut the track
Parts
- DHT22 or DHT11 temperature and humidity sensor
- 4.7K ohm resistor
- 0.1uF capacitor
- hookup wire
- 6 pin header
- stripboard – 6 tracks by 7 holes
Assembly
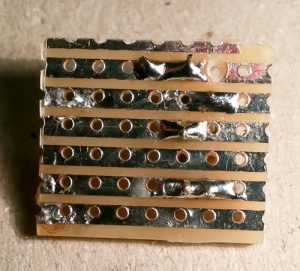
1. Cutting the track
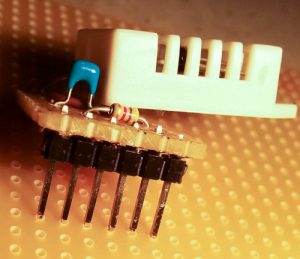
2. fitting the resistor, capacitor and hookup wire.
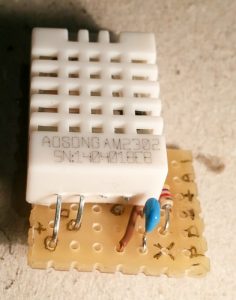
3. Remove the unused leg from the DHT22
4. Attach DHT22 to board
5. Slide plastic spacers right to the end of the header pins and insert into the board from below so the tops of the pins are flush with the top of the board. Use a small piece of blu-tak to hold the pins in place if necessary.
6. Solder the pins being careful to use as little solder as possible to avoid a large lump obstructing the spacer.
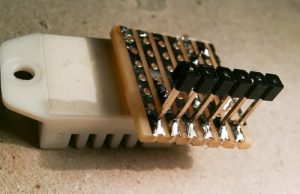
7. Slide the spacer down to the board. Using a spare piece of stripboard helps as you can push the pins through the holes.