
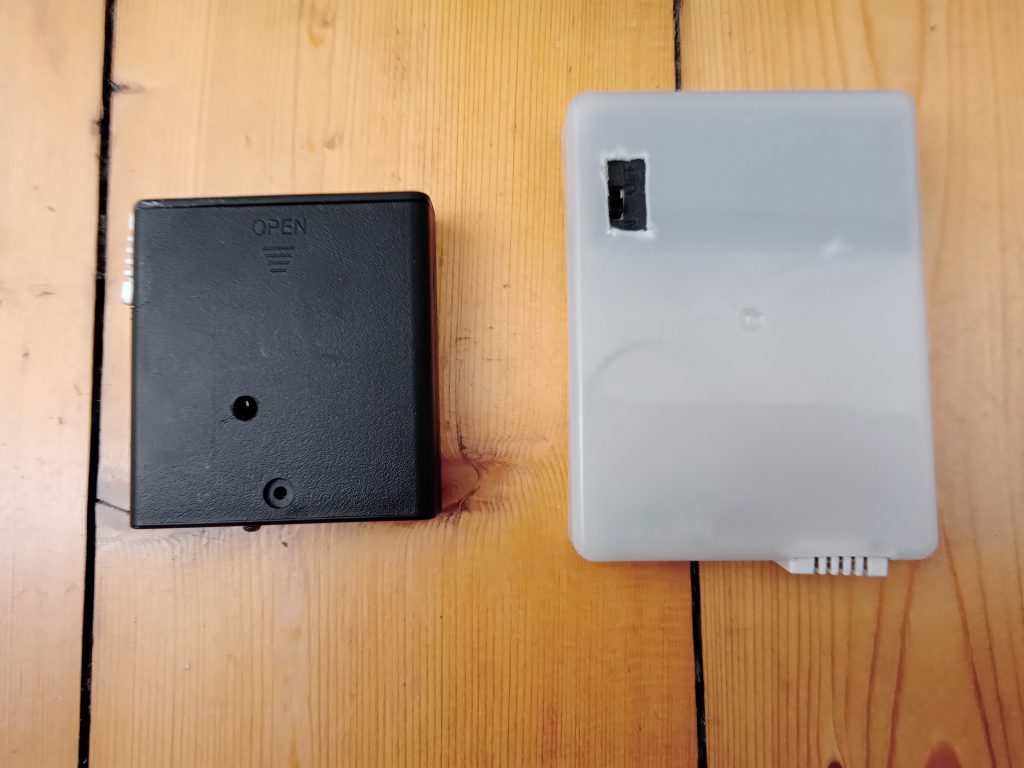
It is possible to buy very good commercial temperature and relative humidity loggers that will save data to a USB stick for around £70. This is a lot for some community groups. We do use these, but we also build our own to try to make the equipment more accessible. Currently it costs around £10 to equip one space for thermal monitoring.
We still intend to add information about how we do this to the website – although groups using them don’t need to know how they work! For now, what we have is information about our old, more expensive design from 2015. We still have a store of old equipment that we use when we need to monitor many spaces in the same building at the same time. Usually this is to understand problems with the pipework and heating distribution in the kind of heating system that use hot water and radiators.
2015 technology

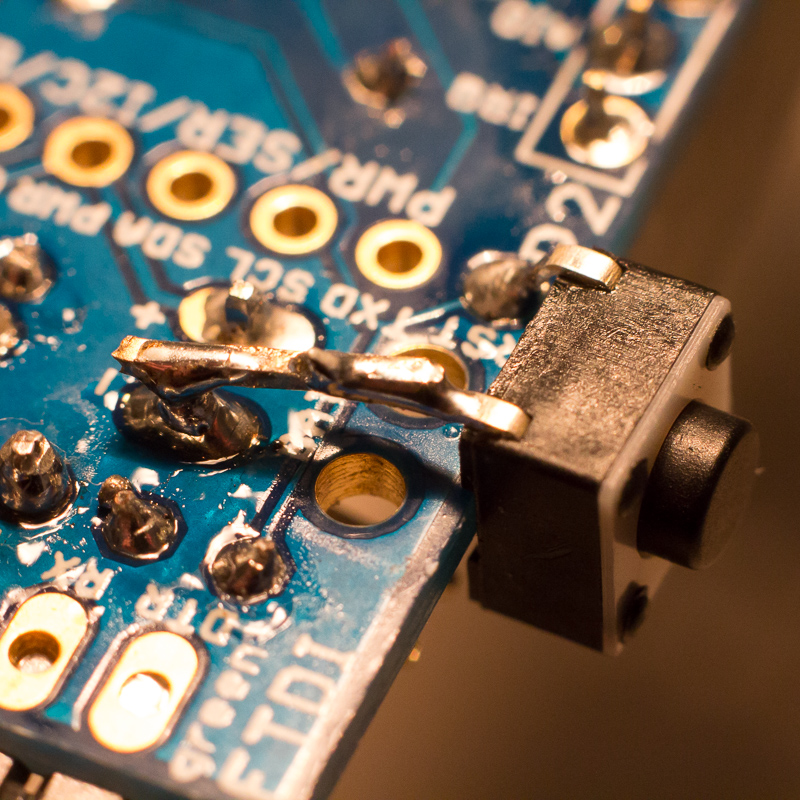
Our home-build equipment uses Jeenode Arduino-compatible microcontrollers with 868 Mhz radios sending data to a Raspberry Pi base station. The base station uses a wifi dongle to transfer the data to a web service. We use EmonCms hosting for this.
Our design choices gave the best balance of price against building skill required for the time. Since then, it has become easy to place wifi on the microcontroller itself or even on a very cheap Pi. It is also now easier to have end users set up the equipment by entering the wifi credentials on their phones. We also now use 433 MHz radios instead of 868 MHz, because they work better in traditional stone buildings.
Hardware
Software
Our common code base for the JeeNodes and Raspberry Pis is on Tim Davis’ Github.
The easiest way to get a copy is to use the Download ZIP button in the bottom right.
Ideally though you’ll use git to manage it so you can easily download updates and also push up your own changes. If you have git installed then the command:
git clone https://github.com/davist/heathack.git
will create a folder called heathack.
Unfortunately the Arduino IDE doesn’t allow you to have multiple workspaces, so you’ll need to change the sketch file location to point at the heathack/arduino folder.
The sketches in the arduino folder are:
HeatHackReceiver
Intended for installing on a JeeLink for receiving broadcasts from the sensor nodes and writing the readings to the connected PC’s serial port. A standard JeeNode with no sensors and the BUB serial interface will work just as well.
JeeNodeEnvironMon
The code for putting on a standard JeeNode to read attached sensors and transmit the readings. There are #defines at the top that need editing to set a unique node id for the JeeNode (the receiver is 1, so 2 to 30 are available). There’s also #defines to comment/uncomment depending on the attached sensors. The expected layout is DHT11/22 on port 1, Dallas DS18Bs (max 3 devices) on port 4 and the room node board across ports 2 and 3.
JNMicroEnvironMon
Simplified version for the JeeNode Micro.
JeeNodeMicroRadioBlip
A test sketch for the Micro that just sends a battery level reading.
LedStripViz
The code for the LED light demonstrated at the launch day.
ASyncDallasTempTest
A sketch to test taking sensors readings asynchronously so that the processor can continue with other jobs while waiting for the reading, instead of pausing. LedStripViz needs to use this technique so it can update the LED animation every 30th second.